Imagine transforming your dark, unused basement into a bright, inviting space that can serve as a game room, home office, or cozy guest suite. A DIY basement remodel not only boosts your home's value but also gives you a creative outlet and a project that truly feels like your own. Whether you’re a first-time remodeler or an experienced DIYer, this guide will show you how to plan, prepare, and execute your remodel safely and effectively.
Planning & Preparation
Materials and Tools Checklist
Before you start, gather these essential materials and tools:
- Drywall: Measure your square footage (4x8 feet each)
- Lumber: 2x4 studs (estimate 100 linear feet)
- Insulation: Rigid foam or batt insulation, enough to cover walls
- Paint: 5-10 gallons of high-quality interior paint
- Flooring: Carpet, laminate, or vinyl (measure your square footage)
- Lighting: LED fixtures, at least 4-6 lights (depending on size of your space)
- Tools:
- Hammer and nails or a nail gun
- Circular saw
- Measuring tape and level
- Drill and screwdriver bits
- Safety gear (gloves, safety glasses, dust mask)
 (Image: A picture of all required tools laid out neatly.)
Steps for Planning & Preparation
- Measure the Space: Determine the square footage of your basement to know how much material you need.
- Design Your Layout: Sketch your ideal floor plan. Include areas for seating, storage, and activity.
- Set a Budget: Estimate costs for materials and tools. Plan for a little extra for unexpected expenses.
- Safety First: Wear protective gear and ensure proper ventilation if you’re using paints or adhesives.
For example, if you're working with wood, ensure you have sandpaper in varying grits to smooth rough edges safely.
Step-by-Step Execution
-
Clear and Clean the Basement:
- Remove any clutter, old furniture, or debris.
- Sweep and vacuum to prepare for remodeling.
-
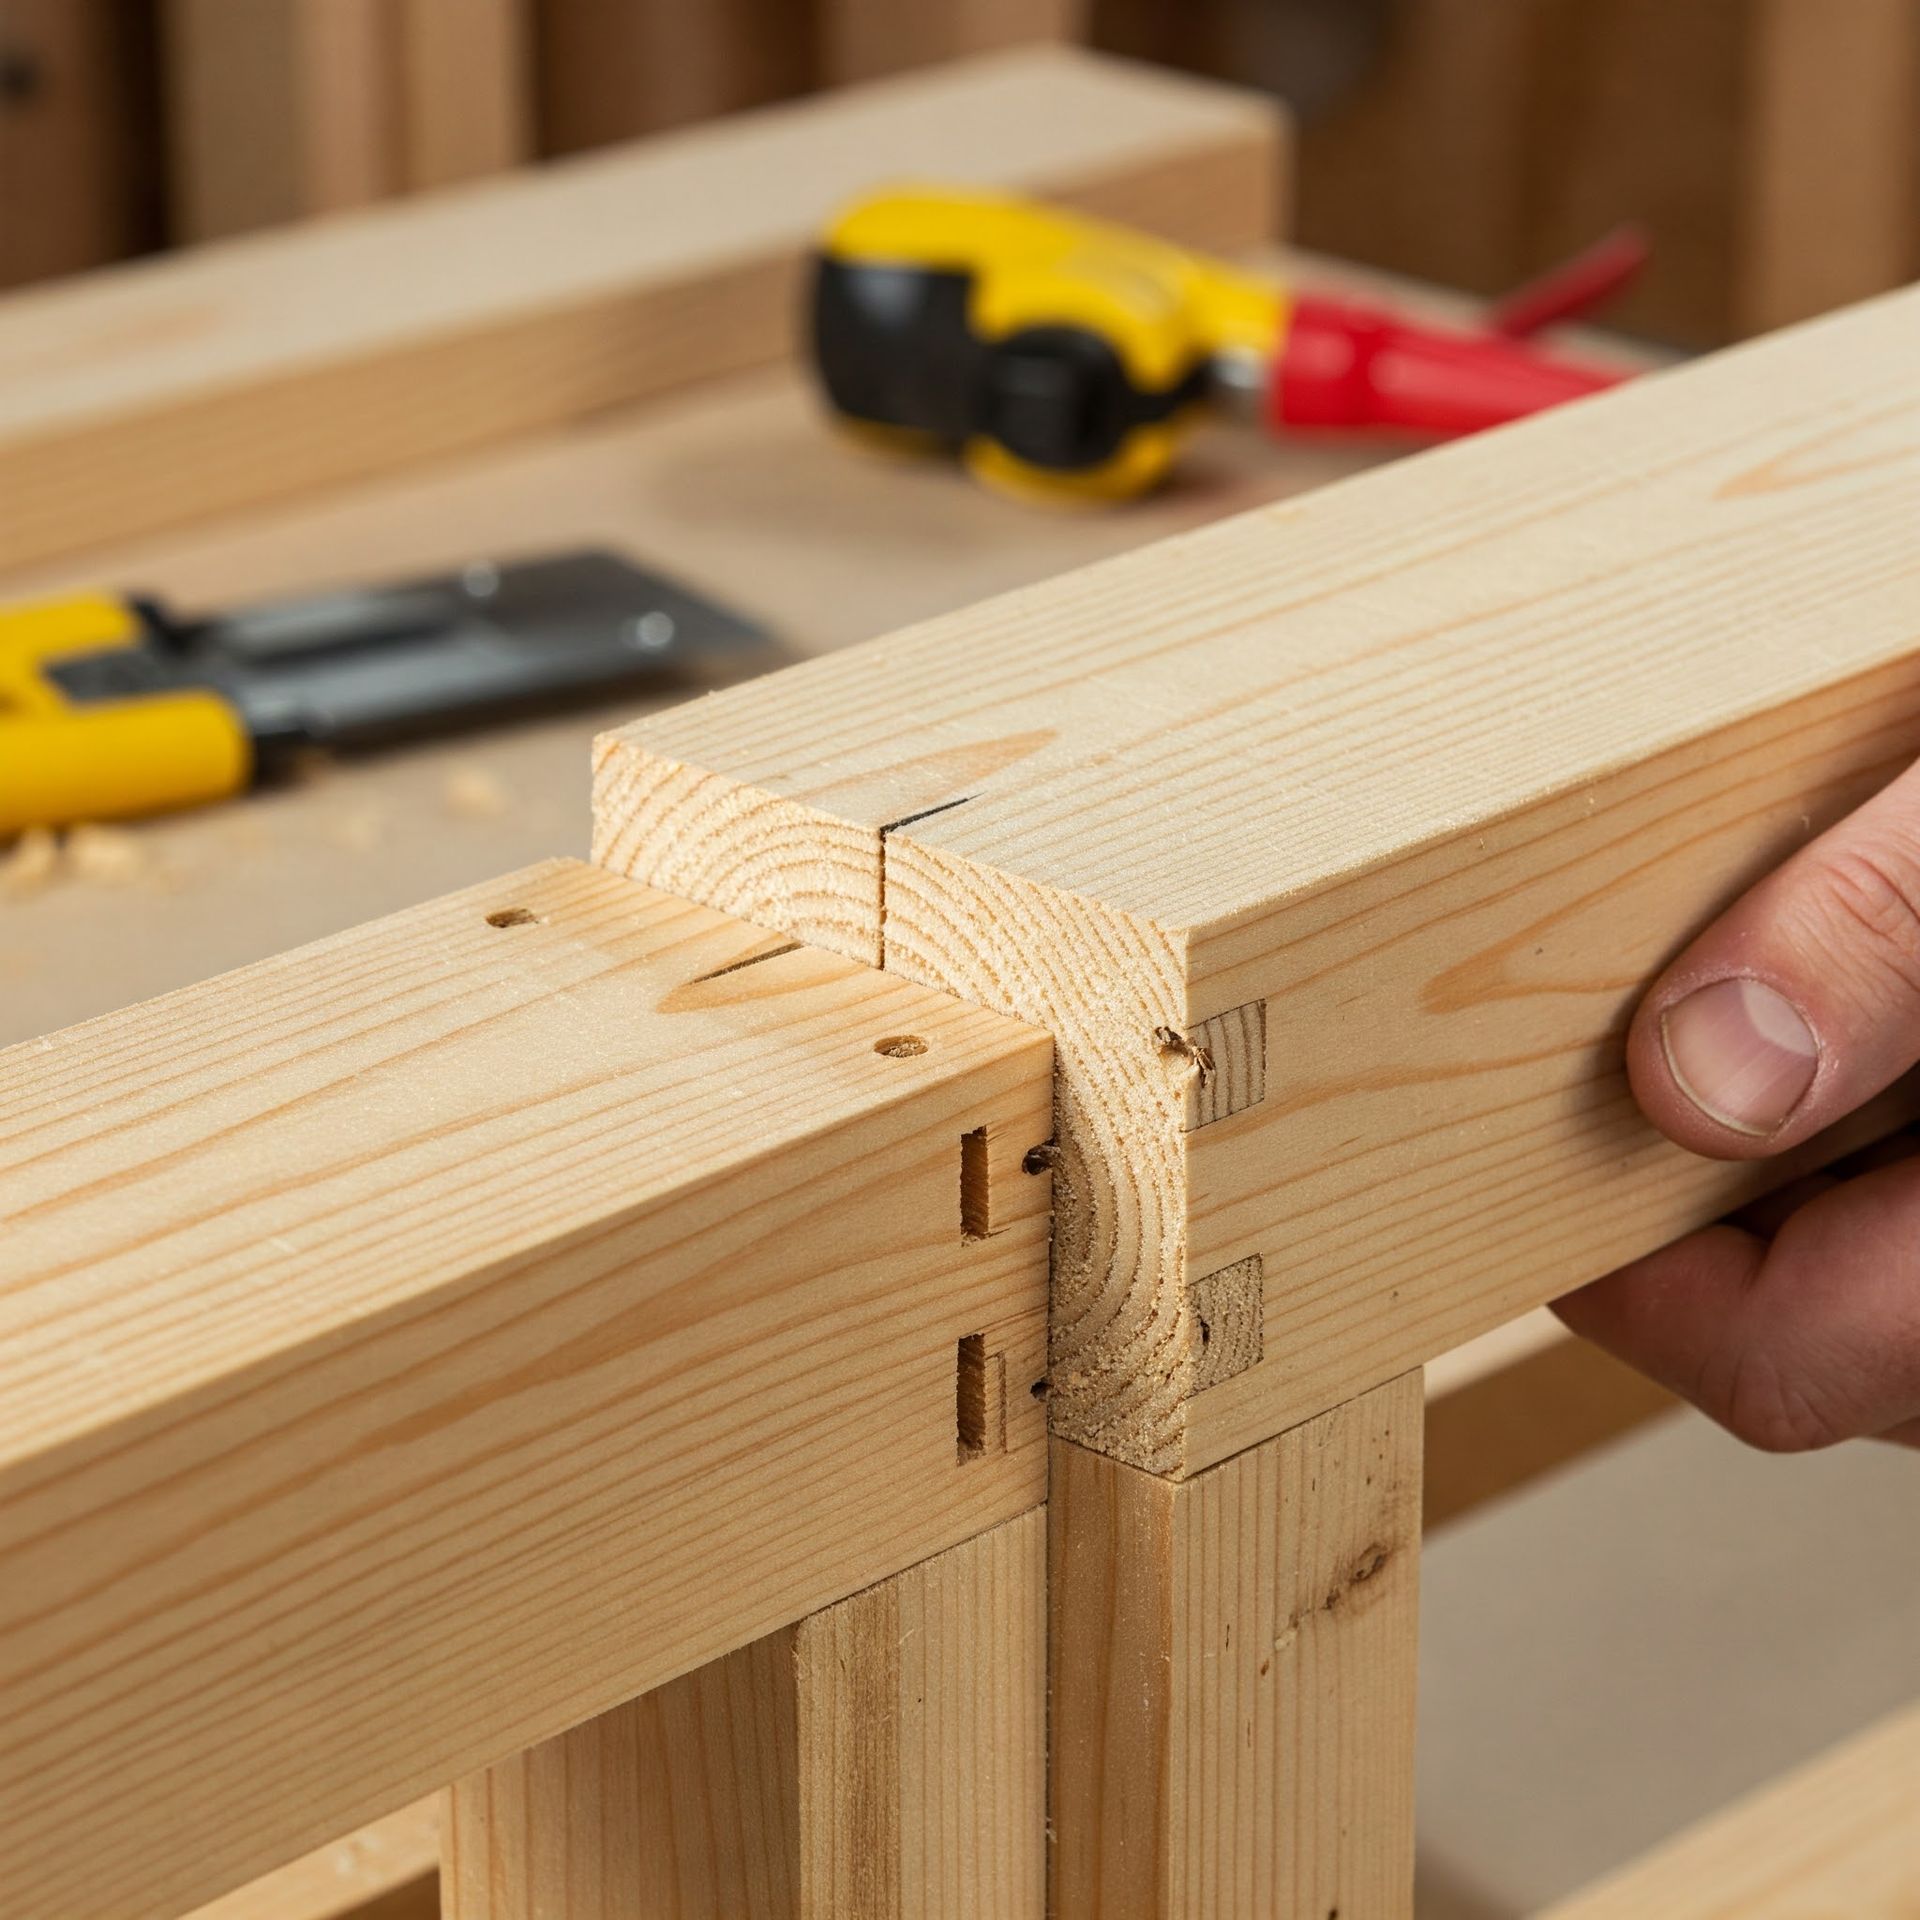
Frame the Walls:
- Use 2x4 lumber to build frames.
- Install studs every 16 inches apart for stability.
 (Image: A close-up showing the correct way to join two pieces of wood framing.)
-
Install Insulation and Drywall:
- Fit insulation between studs.
- Attach drywall to the frames, using screws or nails.
- Tape and mud the seams for a smooth finish.
-
Paint and Finish Walls:
- Sand any rough spots on the drywall.
- Apply primer, then two coats of your chosen paint.
- Consider adding accent walls or decorative molding for extra style.
-
Upgrade the Flooring:
- Remove old flooring if necessary.
- Install your chosen flooring material carefully, ensuring an even surface.
- Use a level to check that everything is flat.
-
Install Lighting and Fixtures:
- Position LED fixtures evenly across the ceiling.
- Install any additional electrical outlets or switches as needed.
- Test each light to ensure proper installation.
-
Final Touches:
- Add furniture, storage solutions, and decor to complete your new space.
- Clean up the workspace and admire your transformation!
Troubleshooting & Tips
-
Common Challenges:
- Uneven Walls: Check with a level frequently and adjust framing as needed.
- Drywall Imperfections: Sand and reapply joint compound to smooth out bumps.
- Flooring Gaps: Use transition strips or filler to create a seamless look.
-
Helpful Tips:
- Plan Ahead: Double-check measurements before cutting materials.
- Take Breaks: Remodeling can be tiring. Short breaks can help you avoid mistakes.
- Ask for Help: Some tasks, like electrical work, may require professional assistance.
Conclusion & Next Steps
Your DIY basement remodel is not just a project—it’s an opportunity to create a versatile, functional space that reflects your style and meets your needs. With careful planning and attention to detail, you can overcome challenges and enjoy a beautiful, renewed basement.
Potential Variations:
- Turn your basement into a home theater.
- Create a personal gym or a hobby room.
- Add a wet bar for entertaining guests.
Take the plunge and start your basement remodel today! Once completed, share your success with friends, family, or online DIY communities.
